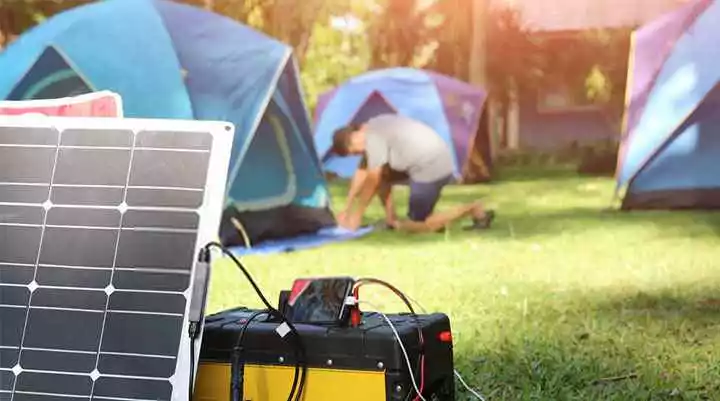
Are you searching for a reliable alternative power source for your home? Then consider getting a solar generator. The portability of these generators also makes them ideal when going on a camping trip.
The lack of solar generator installation skills may lead to the reluctance to make this investment. You assume that setting up the generator is hard, and only experts can do it. Due to these challenges, you’ll conclude it doesn’t make sense to purchase a solar generator.
Here is the solar generator installation guide to help you overcome these troubles.
Checklist for the Solar Generator Installation Tools and Components
To ease your work, ensure you have all the necessary solar generator installation components and tools
Here is a list of the items:
• PV brackets
• PV module
• DC/AC inverter
• PV input wire
• Solar charger controller
• PV connection cable and multimeter
• Retaining bolts
• Expansion screws
• Fixed nuts
Double check that you have all of the necessary items to avoid complications once you start installation.
Setting Up the Solar Panels
To achieve this, you’ll need first to assemble the PV brackets which support the entire structure. All you need is to check the mounting holes at the back of the frame and match them with holes on the PV bracket. The mounting holes allow you to adjust the angles until you find the ideal one for the solar panels.
After picking an angle, all you need is to use a screw to join the frame and the bracket.
Wiring the PV Modules
The modules come with positive and negative wire terminals; all you need is to check.
In many instances, the solar charger controller and the PV modules will be far apart. So to connect them you’ll need to extend the cables.
Connect the cable to the corresponding terminal and cover this part with insulating tape. Use the multimeter to measure the output voltage from the module. To reduce the loss of voltage, avoid having long cables.
Connect the PV Module, Solar Charge Controller, Battery, and Power Inverter
Here is the tricky step for many people as you must observe proper wire connections. Also, ensure that a wire with a positive charge is connected to a positive terminal and vice versa.
First, you’ll connect the PV module with the charger controller. Next, you’ll connect the charger controller to the battery. Finally, you’ll connect the charger controller to the power inverter.
From here, all you need is to check the manual on how to use various buttons on the charger control and inverter. Now you can plug in your extension cord or laptop charger to the power inverter.
Get the Best Portable Solar Power Generator to Simplify Installation
The above solar generator installation guide may vary depending on the product brand you are using. It is essential to review the manufacturer’s instructions before you start the work. To ease your work, compare different brands of solar power generators to determine the ideal to buy.
The best solar generator is the one that is easy to install and meets your energy needs.
Please check out our other articles for more content on technology and DIY installations.