Frozen pipe issues are one of the most typical wintertime difficulties that homeowners encounter. The best defense against frozen pipes is prevention. However, if it’s now past that point, there are some handy tips and advice you can follow.
One of the main questions you might be asking is how to thaw frozen pipes? If so, please read on as we’ll run you through the right way to deal with this dilemma. We’ll also let you know signs of when a DIY solution might not be the best idea.
So, without further ado, let’s look at how to thaw your frozen pipes and any other questions you may have.
What to Do About Frozen Pipes
Since most people cannot identify frozen pipes behind walls, we suggest avoiding DIY thawing of those frozen pipes. Even with the best thawing techniques in place, concentrating on the wrong location might result in expensive blunders.
However, you can attempt some safe DIY thawing techniques if you don’t have access to a plumber right now. As you might expect, exposed frozen pipes are easier to deal with. This is because you can apply heat to this pipe without obstruction.
So now, let’s check out some practical ways you could thaw your freezing pipes in the home.
Turn Up Your Heating
The heat on your thermostat can work to assist the thawing of frozen pipes. After discovering a frozen pipe, we recommend you utilize this remedy right away.
This method heats the entire house, so it saves time because you don’t need to know the exact placement of the pipes in question. Note that this method might not work for lines exposed to the elements or in uninsulated areas of your home.
Use an Infrared Lamp
When compared to conventional heaters or lights, infrared lamps are more effective at delivering direct heat.
If you’re able to pinpoint the location of the frozen pipe, you can use an infrared lamp to locate it. If the pipe is located inside, you should do this in conjunction with raising the thermostat.
Use Direct Heat
If your frozen pipe is exposed, this shouldn’t be an issue. If the frozen pipe you’ve discovered is within the wall, you’ll need first to expose it.
This is the last option for frozen pipes behind drywalls, and you should only use it if you know exactly where the frozen pipe is. The better choice in the situation is to contact a plumber. That being said, you may be happier cutting through a wall to deal with this issue to prevent more extensive damage.
So first off, cut through the wall and expose your frozen pipe. Next, you can use a variety of ways to apply direct heat. A simple way is to use a towel drenched in hot water and wrap it around the pipe. Or, you could even use a hairdryer.
What Temperatures Do Pipes Freeze at?
Preventing frozen pipe repairs should be your number one goal. If you don’t have a frozen pipe problem right now but want to predict when one could develop, here’s all you need to know.
The first thing to keep an eye on is the temperature. When the weather forecast predicts temperatures of -6 degrees Celsius or below, the pipes in your home could freeze. When susceptible pipes freeze for six hours in a row within the specified temperature range, experts might say the freezing process is complete.
Some pipes are more sensitive than others. This is often true if your pipes are outside, on your home’s external wall, or in uninsulated spaces. Pipes that do not have any insulation are more susceptible to freezing than insulated pipes.
Also, remember that if your pipes are in a basement or attic, they might not have the proper insulation like others in your home. So the clear preventative answer to keep your pipes from freezing is insulation.
You can opt to insulate your pipes yourself or hire a professional. If you do hire a professional, they’ll be able to determine whether you need any frozen pipe repairs too.
The Dangers of Frozen Pipes
It might take days for frozen pipes to thaw on their own. And ruptures or cracking is possible during this timespan. This is due to two things that occur at the same time: the expanding frozen water and the pressure it produces.
Water expands by around 9% in volume when it freezes into ice. This does not always result in a pipe rupturing or cracking.
What occurs is that the frozen water begins to obstruct the pipe, preventing water from flowing as it should. This builds up pressure over time, causing the pipe to bulge even more and eventually break or explode.
Warning Signs of Frozen Pipes
You must detect frozen pipes quickly to minimize more damage from this common winter plumbing problem. How to notice whether your pipes are frozen is as follows:
- The water flow from your faucets is poor
- You can hear strange clunking, banging, or whistling in the walls
- You can see a crack or bulge on a visible pipe
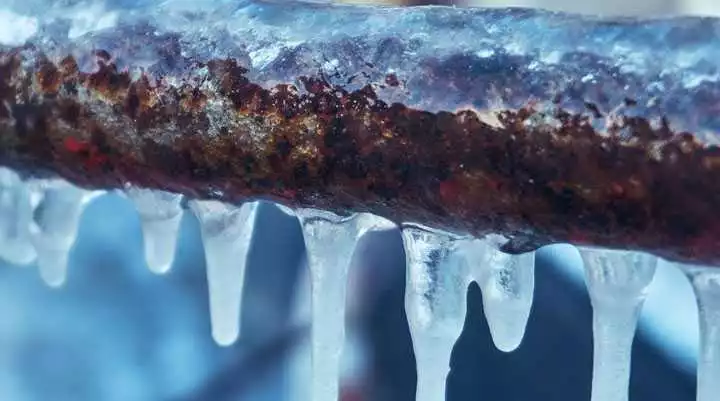
- You notice ice on a pipe
If your frozen pipes are behind a wall and have already split and thawed, the leak may cause a drop in water pressure. You may indeed notice symptoms of dampness on the floor or wall nearest to the pipe in your home.
If you observe any of the above indications or a combination, contact professional plumbers right away. Even if you’re not sure what’s wrong with your plumbing, it’s best to help you figure out what to do next.
Read This Also: Window Worries: What Is the Average Cost to Replace Windows?
How to Thaw Frozen Pipes the Right Way
If you’re wondering the best way of how to thaw frozen pipes, we advise you to contact a professional plumber as soon as possible. In such instances, timing is vital so that you don’t have to deal with worse problems like water damage and burst pipes.
Of course, it’s always worth turning up your thermostat and checking your water flow while waiting for a professional. And remember, preventative measures are a good idea.
Thanks for reading through this post. We hope we have helped you deal with your pipe issues. If you have a moment, please check out the rest of our blog for similar handy tips and advice.